

19 Aug Memory Keeping For Large Groups
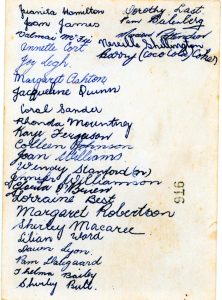
Do you remember writing a long list of names on the back of a photo print?
Do you wonder what the modern digital age equivalent is?
Today’s blog is all about documenting group stories.
If you have a large family or group of friends that are often photographed together then you should be capturing more than just the image alone, so that you can more fully document your life story. If you want your photos to be a meaningful legacy collection it is important to capture the information like names and relationships as well.
A Windows file path character limit is 260. If you are using a consistent file naming convention WHEN>WHERE>WHO>WHAT>WHY you would be hard pressed to capture more than 3 names in a file name. By nature, most group photos will contain many more than 3 people. Let’s look at the alternatives.
KEYWORDS or TAGS:
If you are using Adobe Bridge (free software), you can apply keywords. This does mean you will have to create all those keywords in the first instance but once created they become easy to apply with one click. You can apply family names as keywords and other information about where, when, what and why, including a keyword that refers to a family tree link or blog as described below.
Enrol* in Organizing Photos with Adobe Bridge here or if you’re after a more hands on approach you can get in touch and book a one on one coaching session.
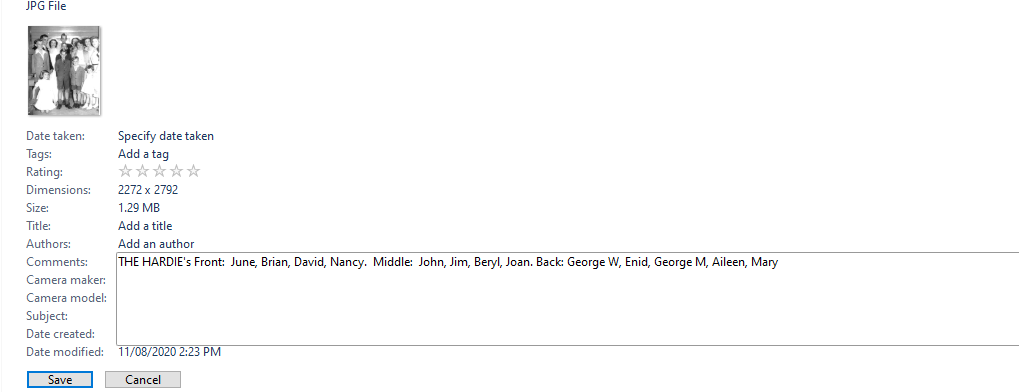
COMMENTS:
For PC users when viewing the details pane of a photo. You will see a section called ‘comments’ you can type a list of names.
LINKS:
Whilst it’s not possible to add a hyperlink into the actual image data, use can designate a word or phrase to use in your file name or comments that tells the viewer that more information is available. My Aunt has done years of work populating our family tree in Geni.com. I could for example rename this photo 1951 Enid and Frank Davis wedding SEE GENI. Similarly, if you have a family blog you could use ‘SEE BLOG’.
PHOTO BOOKS:
Regular readers of Fairytales will know that we LOVE documenting stories in photo books.
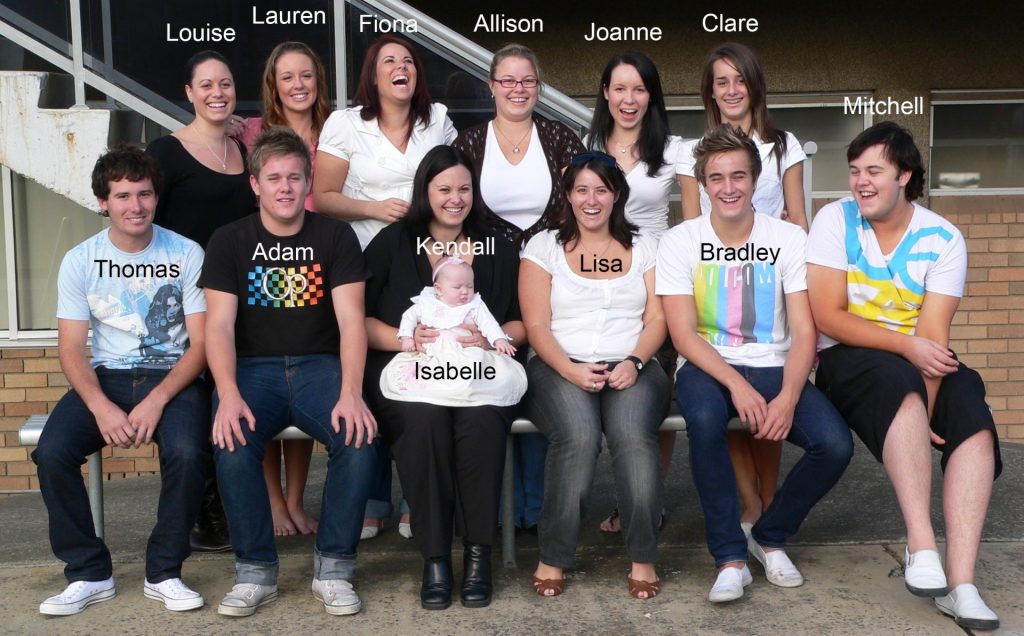
For straightforward rows that are easily identifiable in a photo book you can readily include a narrative caption underneath your photo, allowing as much room in your layout as you need for a long list of names (working top row left to right) as well as a story. Or you can add names over the image itself as pictured below.
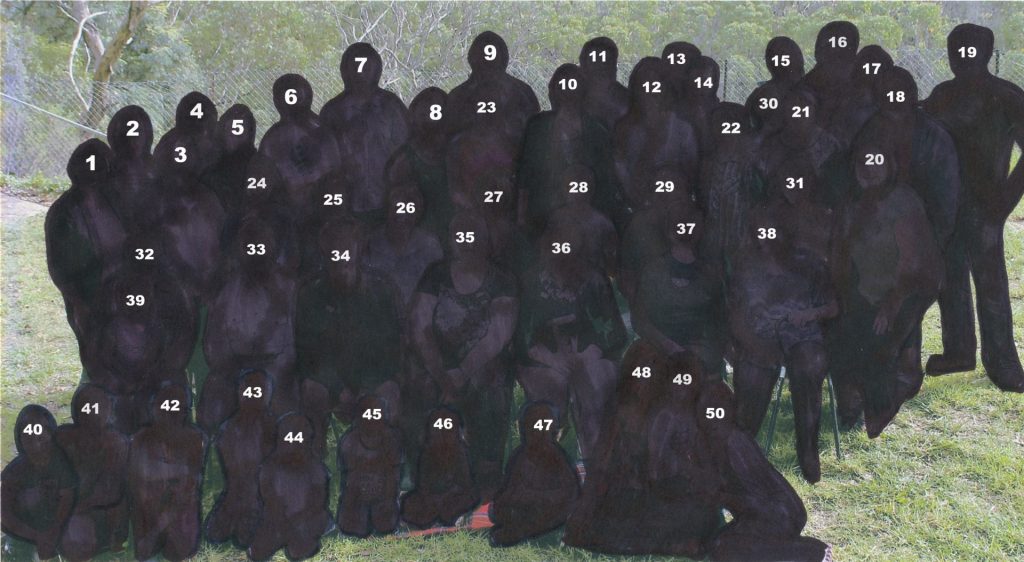
Sometimes in a very large busy group photo, it can be hard to identify clear ‘rows’. You could create a shadow outline of each person in Photoshop and number each shadow, or here is a method that I came up with if you don’t have Photoshop:
- Print a large copy of the photo
- Use a black sharpie to outline and colour each person
- Scan your print
- Upload the shadowed scanned image into your photo book software
- Use a small text box to place numbers on each person’s shadow
- List the numbers and names in a large text box
- Place both versions of the photo side by side in your layout.
Which method would you choose?
Interested in learning more about Adobe Bridge? We offer one on one coaching sessions where we can teach you how to use this basic tool to apply keywords to your photos, get in touch today.
Until next time
Have a magical day
Mara
*If you purchase any highly recommended course via this link, we get a small amount of play money (enough for cake with our coffee not enough for a pony)

Sorry, the comment form is closed at this time.