
19 Sep Protecting your photos while travelling – Part 3
Last week we gave you some tips on taking photos while travelling, to assist with organising your photos when you return. But what about actually backing up your images while you are away to prevent losing all those great shots you have taken?
We have heard many stories from our clients – their phone or camera was stolen or lost, SD card or camera failed and they lost all their photos from their recent holiday.
Just as you back up your photos and files regularly at home, you need to schedule in time to back up your photos while you are travelling. If you are taking a lot of photos each day, you may back them up each day or every second day. The key here is to make the backing up process as simple and quick as possible. You don’t want the backup process to take any more than 15 mins a day, otherwise you just won’t do it. Who has time for that when there are cocktails to drink and sunsets to watch?!
Backing up images via Wi-Fi to a cloud service
If you have set up automatic syncing from your smart phone, tablet or even your camera to back up photos to a cloud storage service, you will need to connect to a Wi-Fi service regularly and login to check that photos are actually syncing and there are no upload issues. If you are connecting to Wi-Fi via your hotel’s provider, the upload speed could be quite slow. If you have taken a lot of images in one day, ensure they are all uploaded before you leave the hotel. It may be best to use one of the below manual backup methods in addition to your automatic sync to a cloud service – that way you will have two backups in case one doesn’t work.
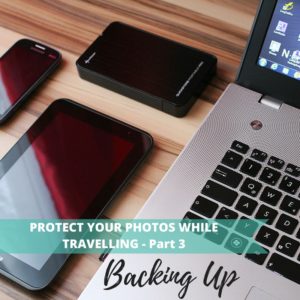
Manual backup
If you are backing up images from a camera which does not have Wi-Fi capabilities, or you do not have access to Wi-Fi, you will need to carry out your manual backup procedure:
- If you are carrying additional memory cards – you will need to rotate the cards in your camera regularly
- If you have a laptop – copy your images by inserting your memory card into your laptop or connecting your USB cord between laptop and camera. Then copy and paste the images onto your computer hard drive
- If you have an external hard drive or USB drives – you will need to access a computer in the business centre of your hotel or at an internet café and connect your camera with a USB cord and copy the files across to your external hard drive or USB drive
You should only have to copy across the images from the date you carried out your last back up. Once you have performed your back up, store your spare memory cards, laptop and backup drives separate from your camera to avoid losing your both copies of your photos through theft or loss.
If you are running out of space on your memory card and don’t have a spare one to use, the best way to delete images from your memory card is to reformat your memory card through your camera (only once your images are backed up, preferably in two locations). This is the best way to delete the images from the card, to extend the cards lifespan and minimise card corruption.
Now, off and enjoy the rest of your holiday! Next week we will discuss what to do with your photos once you return from your holiday.
Sorry, the comment form is closed at this time.